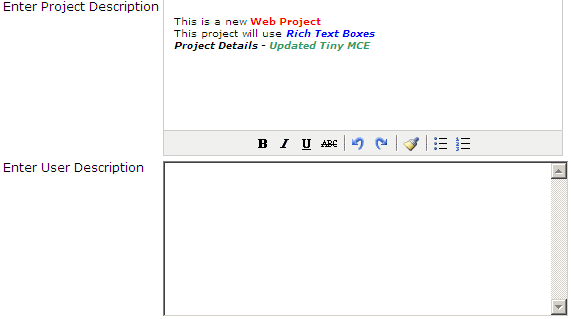
TinyMCE is a Javascript Based, WYSIWYG
Editor, here we shall see on how to load content into the Editor from a
database.
To see on how to integrate the editor with an
Asp.net textbox refer to the post
Asp.Net Free Rich Text Editor
using Tiny MCE Editor - Simple Interface.
To see on how to insert data from the editor to the database refer to the post
To see on how to insert data from the editor to the database refer to the post
Asp.Net Free Rich Text Editor using Tiny MCE Editor - Insert Text Into Database.
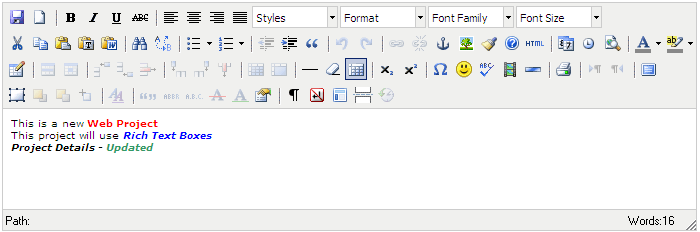
Content can be loaded into the Editor as HTML tags, we will load the content from the database, which we stored in the post
Content can be loaded into the Editor as HTML tags, we will load the content from the database, which we stored in the post
We can
use a normal SELECT query to fetch and load the HML tags into the Editor.
string strSql = "SELECT TOP 1 * FROM Projects ORDER BY ProjectID DESC";
string strSql = "SELECT TOP 1 * FROM Projects ORDER BY ProjectID DESC";
//
string strConn = ConfigurationManager.ConnectionStrings["ConnectionString"].ToString();
objConn
= new SqlConnection(strConn);
objCmd
= new SqlCommand(strSql,
objConn);
objDA =
new SqlDataAdapter(objCmd);
dsProjects
= new DataSet();
objDA.Fill(dsProjects,
"dtProjects");
//
txtDescription.Text =
dsProjects.Tables["dtProjects"].Rows[0]["ProjectDescription"].ToString();